If you’re planning an event and want to manage the audio setup yourself, this guide will help you pull it off like a pro. Whether it’s a wedding, corporate gathering, or small performance, following these DIY audio system setup tips will ensure your event sounds just right.
1. Start with Your Event Needs
Before you dive into choosing audio equipment, take a moment to assess your event:
- Audience Size: The larger the crowd, the more powerful your audio system needs to be.
- Type of Event: Will you need microphones for speeches, or will there be live music? This will influence the type of gear you’ll need.
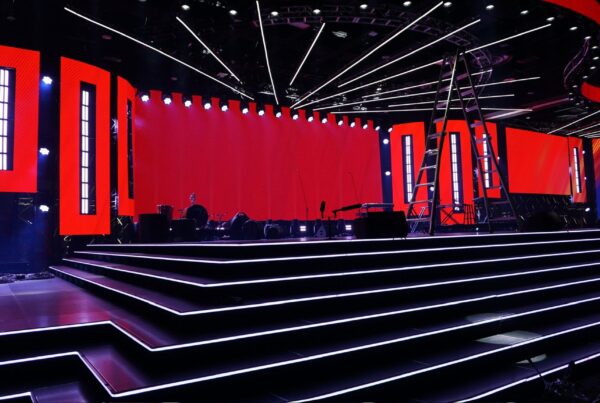
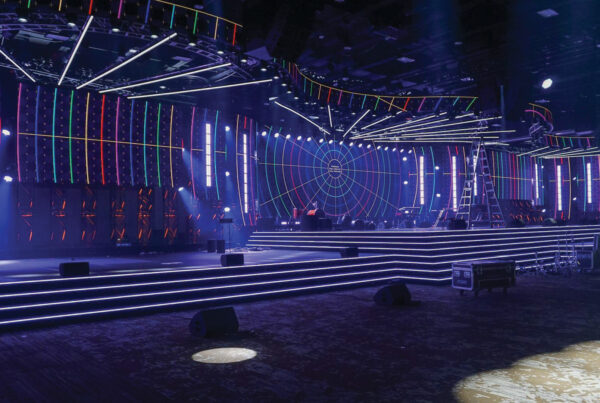
- Venue Layout: Think about the acoustics and space. A large hall will need more equipment than an intimate conference room.
2. Choose the Right Gear for Your Event
Once you’ve assessed your event, select the audio equipment that fits your needs:
- Speakers: For a large venue, you may need PA speakers with good coverage, while a smaller event may only need portable or passive speakers. Choose speakers based on your space’s size and acoustics.
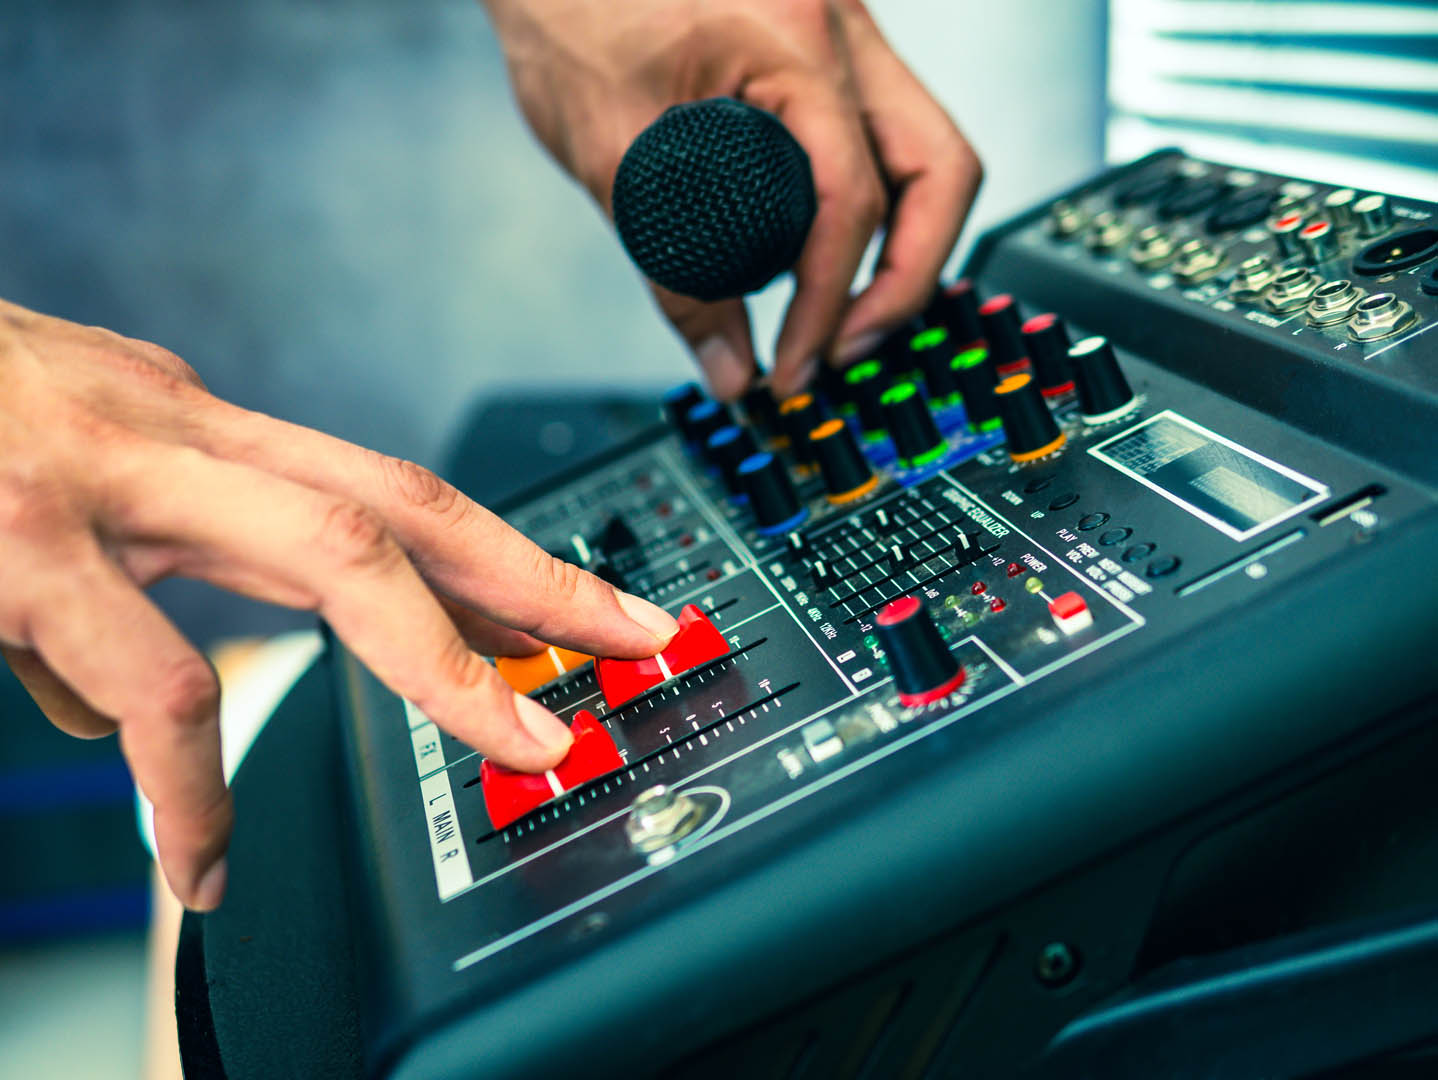
- Audio Mixer: A mixer allows you to control the balance of sound. If your event involves multiple microphones or instruments, a multi-channel mixer is a great option.
- Microphones: For speeches, handheld microphones work best. For hands-free use, opt for lavalier or headset microphones. Wireless microphones provide more flexibility.
- Cables and Connectors: Make sure you have enough quality cables, including XLR and speaker cables, to connect all your equipment.
- Stand and Mounts: Don’t forget about microphone stands and speaker mounts to position your equipment securely and ensure optimal sound.
3. Assemble Your Audio System
With your gear ready, it’s time to set everything up:
- Place the Speakers: Position your speakers in the best spots for even sound distribution. Avoid corners, and place them on stands or elevated platforms for better coverage.
- Connect the Mixer to the Speakers: Use high-quality cables to connect the mixer’s output to the speakers. Ensure each connection is secure to avoid any signal issues.
- Microphone Setup: Plug the microphones into the mixer. For wireless mics, make sure the receiver is properly connected to the mixer and tuned to the correct frequency.
4. Adjust Your Sound System
Once everything is connected, you’ll need to make sure the system sounds good:
- Start with Low Volume: Set the volume to a low level before turning everything on to prevent sudden loud noise.
- Adjust the EQ: Tweak the bass, mid, and treble settings to match the acoustics of your event space. In smaller rooms, you may want to reduce bass to prevent muddiness.
- Balance the Levels: Make sure the sound levels for each microphone and instrument are balanced, so no sound source overpowers another.
5. Test and Fine-Tune the System
Before the event starts, it’s crucial to test your audio system:
- Walk Around the Room: Check the sound from different areas to ensure even distribution. If you hear any dead spots or imbalances, adjust speaker placement or EQ settings.
- Monitor for Feedback: Stand near the speakers while using the microphone and listen for any feedback. If you hear squealing, lower the mic gain or adjust the speaker positioning.
- Check Battery Life: For wireless mics, make sure the batteries are fully charged to avoid any interruptions during the event.
6. Keep Things Safe
Safety should always be a priority when setting up your audio system:
- Cable Management: Use cable ties or covers to keep your cables organized and prevent tripping hazards.
- Surge Protectors: Plug your equipment into surge protectors to safeguard against power surges.
- Ventilation: Ensure your amplifiers and other equipment are in well-ventilated areas to prevent overheating.
7. Adjust During the Event
Once the event is underway, keep an eye (and ear) on the sound:
- Monitor the Sound: Walk around the venue to check if any adjustments are needed as the event progresses.
- Fine-Tune the EQ: During the event, you may need to make minor adjustments to the bass, treble, or levels to account for changes in the environment or acoustics.
- Be Ready for Quick Fixes: Have backup batteries for wireless mics and extra cables handy in case of any equipment malfunctions.
Conclusion: Smooth Setup, Great Event!
With these simple steps, you’ll be able to set up your audio system like a professional. By selecting the right gear, placing speakers optimally, and testing the system thoroughly, you can ensure that your event sounds amazing. If you ever need help with equipment or setup, our team at AudioSystemRental.com is here to assist you.